
Implementing an authentication system is a crucial step in web applications development in order to protect and secure your API. Creating your own personalized system that allows you to store your users informations in your database, is always better than using a ready-to-use solution which is implemented automatically. Redis database represents one of the best options to register the user data and manage their sessions.
In this tutorial, you will learn how to build a complete Node.js Login, Registration and user management RESTful API using Redis. For that we are going to use node.js to build our server and Redis to store users and handle sessions.
Note: In the rest of this article:
- We assume that you have already setup Redis on your computer. We are using a local installation of redis. But you can get a free server from redis labs.
- We are starting with a boilerplate node.js server. If you want to know more details about our start server that we are using in this article, go a head and check this article: Complete Guide to Build a RESTful API with Node.js and Express.
Redis and Nodejs
To use Redis with Node.js, you need to install a Node.js Redis client.
npm install --save redis
The following code imports the npm module and creates a connection to Redis:
server.js
const express= require('express');
require("dotenv").config();
const bodyParser = require('body-parser');
const redis = require('redis');


const app=express();

const cors=require("cors");

app.use(cors());


const PORT= process.env.APP_PORT;
const REDIS_PORT= process.env.REDIS_PORT;


//create the redis client
const redisClient = redis.createClient({
    host: 'localhost',
    port: REDIS_PORT
 })


redisClient.on('error', function (err) {
    console.log('Could not establish a connection with redis. ' + err);
});
redisClient.on('connect', function (err) {
    console.log('Connected to redis successfully');
});


app.use(bodyParser.urlencoded({
    extended: true
}));

app.use(bodyParser.json())


app.listen(PORT, ()=>{console.log(`server is listening on ${PORT}`)});
–> Remember to always save all the environment variables related to your app in your .env file, so you will load and use them later. To see how to create this file, go Here: Complete Guide to Build a RESTful API with Node.js and Express.
By default, redis.createClient() will use 127.0.0.1 and 6379 as the hostname and port, respectively. If you have a different host/port, you can specify them in your .env file :
.env
APP_PORT = 3000

REDIS_PORT = 6379
Handling Sessions
To manage users’ sessions, we will store our sessions in an external storage instead of storing them in the express server (MemoryStore by default). Redis is an optimal solution and a popular choice among application developers to store and manage session data because of its speed and availability that will help to improve the performance of the authentication system In a production environment.
To store our sessions in Redis, we need to install and then import two additional dependencies : express-session and connect-redis to create the redisStore
 npm  install --save express-session

 npm install --save  connect-redis
The next step is to set up the session middleware on our server.js.
To learn more about Redis session store and the setting of the session middleware, check this article: How to Manage Session in Nodejs using Redis Store.
server.js
const express= require('express');
require("dotenv").config();
const session = require('express-session');
const bodyParser = require('body-parser');

const redis = require('redis');


const app=express();

const cors=require("cors");

app.use(cors());


const redisStore = require('connect-redis')(session);


const PORT= process.env.APP_PORT;
const IN_PROD = process.env.NODE_ENV === 'production'
const TWO_HOURS = 1000 * 60 * 60 * 2

const REDIS_PORT= process.env.REDIS_PORT;


//create the redis client
const redisClient = redis.createClient({
    host: 'localhost',
    port: REDIS_PORT
 })


redisClient.on('error', function (err) {
    console.log('Could not establish a connection with redis. ' + err);
});
redisClient.on('connect', function (err) {
    console.log('Connected to redis successfully');
});


const  sessionStore = new redisStore({ client: redisClient });


app.use(bodyParser.urlencoded({
    extended: true
}));

app.use(bodyParser.json())


app.use(session({
    name: process.env.SESS_NAME,
    resave: false,
    saveUninitialized: false,
    store: sessionStore,
    secret: process.env.SESS_SECRET,
    cookie: {
        maxAge: TWO_HOURS,
        sameSite: true,
        secure: IN_PROD
    }
}))


 app.listen(PORT, ()=>{console.log(`server is listening on ${PORT}`)});
.env
APP_PORT = 3000

REDIS_PORT = 6379
SESS_LIFETIME = TWO_HOURS
NODE_ENV = 'production' /change it to development if you are in development environment
SESS_NAME = 'enter_the_session_name'
SESS_SECRET = 'yoursecret'
Where and How to store the user informaions?
In our authentication API, the user object is the basic building block from which all the user informations are derived so when a new user signs up, we only need to create an object with the corresponding data.
We’ll store user objects inside of Redis as HASHs. A HASH takes tiny space, so you can store millions of objects in a small hash instance.the data that we’ll store includes the first name and last name of the user, his email, and his password and other meta-informations you decide to.
The first thing to do is to add a route for registration or sign up to our server.js. This route will get all user data from the request and verify if they are not null, then set a redis hash to store user using the HMSET and setting up the email as a key to make sure that it is unique.
Sign up route
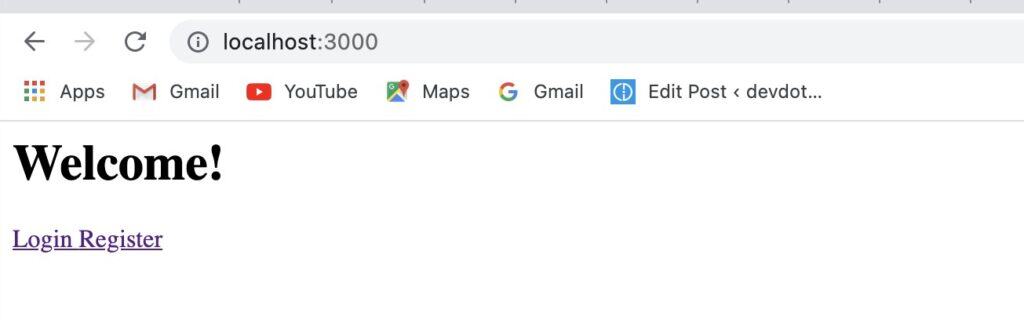
We need to create a Main page where the user can choose between registration or login in case he is registered already. To make things easy for you, we are doing this by just adding a simple get route to our app to load a simple HTML code.
In this get route, we will first check if there is an open session by getting the email from the request session object. If the email exists, we redirect the user to the home page, Otherwise the user will be redirected to the Main page where he can sign up or login.
app.get('/', (req, res)=>{
    const { email } = req.session
    console.log(email);
    res.send(`
    <h1> Welcome!</h1>
     ${email ? `<a href = '/home'> Home </a>
    <form method='post' action='/logout'>
    <button>Logout</button>
    </form>` : `<a href = '/login'> Login </a>
   <a href = '/register'> Register </a>
`}
    `)
})
Sign up is a very common process of any web application which has user management system. This step helps to register user and store his data into redis database.
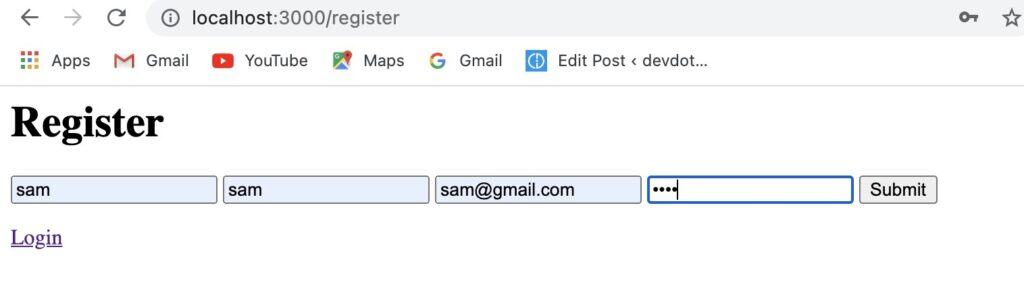
To log to the app, a user needs first to register by entering his first name, last name, email and password in the registration form on the register page. After that we need to store these informations as an object in a redis database using hashs.
first we need to create a get route to load the HTML code of the registration form .
app.get('/register', (req,res)=>{
    res.send(`
    <h1>Register</h1>
    <form method='post' action='/Register'>
    <input type='text' name='firstName' placeholder='First Name' required />
    <input type='text' name='lastName' placeholder='Last Name' required />
    <input type='email' name='email' placeholder='Email' required />
    <input type='password' name='password' placeholder='password' required/>
    <input type='submit' />
    </form>
    <a href='/login'>Login</a>
    `)
})
The next step is to create a post request to save the registration form data into our database. Inside these routes, we get all the registration form data from the request object, then check if they are not null.
In case all the data needed is present, we can continue and register the user using HMSET then redirect him to the Main page or the register page where he can login. Otherwise we send an error message. Or whatever the action you want to take.
app.post('/register', (req, res, next)=>{
    try{
        const firstName = req.body.firstName;
        const lastName = req.body.lastName;
        const email = req.body.email;
        let password = req.body.password;


              if (!firstName || !lastName || !email || !password) {
                return res.sendStatus(400);
             }


                redisClient.hmset(email,
                    'first_name', firstName,
                    'last_name', lastName,
                    'email', email,
                    'password', password
                  , function(err, reply){
                if(err){
                  console.log(err);
                }
                console.log(reply);
                res.redirect('/register') ;
                //res.redirect('/');
              });


    } catch(e){
        console.log(e);
        res.sendStatus(400);
    }
});
Login Route
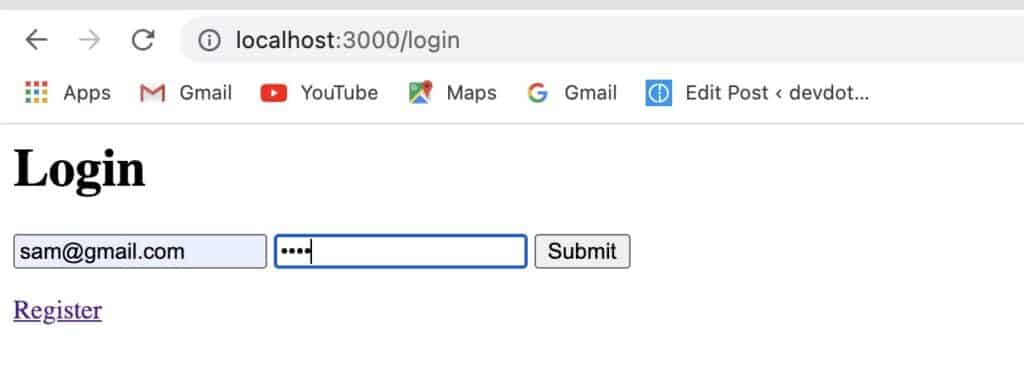
When the user click on Login on the Main page or on the Register page, he will be sent to the login page where the user can enter his email and password.
The login page has the user interface defined in the following get route.
app.get('/login' , (req,res)=>{
    res.send(`
    <h1>Login</h1>
    <form method='post' action='/login'>
    <input type='email' name='email' placeholder='Email' required />
    <input type='password' name='password' placeholder='password' required/>
    <input type='submit' />
    </form>
    <a href='/register'>Register</a>
    `)
})
Our user authentication system will take as input email and password from login form and post data to node server. If the user match then we will redirect the user to Home page otherwise, send to login page with an error message.
Now we are going to create the route that will post request to authenticate the user by matching email and password from the login form and those that we got from Redis database using HGETALL by following these steps to validate user:
- First, get the email and password from the request object.
- Then verify if there is a matching user with the same email exist in our database
- Finally, if the email and the password are validated Then, the server will generate a new session ID and stores it in the Redis store. This session will be valid until maxAge time expires, or the user logs out. In both cases, the session will be automatically removed from the session store.
Note: The session ID is sent to the client, and it is saved as a cookie. This cookie will be sent with each user’s request to the server.
app.post('/login', (req, res, next)=>{
    try{
    const email = req.body.email;
    const password = req.body.password;


    redisClient.hgetall(email, function(err, obj){
    if(!obj){
        return res.send({
            message: "Invalid email"
        })
    }
    if(obj.password !== password){
        return res.send({
            message: "Invalid  password"
        })
    }

        req.session.email = obj.email;
         return res.redirect('/home');

});

    } catch(e){
        console.log(e);
    }


});
How to hash a password in Node.js
For a security reason, we must hash and verify passwords before saving them in the database. For that, we are using the bcrypt module to generate a password hash and store it in the database and later verify it during the login process.
To install this library, use the following command line :
npm install --save bcryptThen inside your server.js, import the following functions from bcrypt module:
const { hashSync, genSaltSync, compareSync } = require("bcrypt");
This code hashes the password ‘password’ using bcrypt and stores the result in the ‘password’ variable. We are going to use hashing code in the sign up route to hash the password before saving it to the database.
   const salt = genSaltSync(10);
   password = hashSync(password, salt);
To verify the password ‘password’ given by the user in the login form against the password hash stored in the database, we use the compreSync() function of the bcrypt module. We save the result in isValidPassword variable and we will use it in our login route.
const isValidPassword = compareSync(password, obj.password);
After adding the Hash and Verify Passwords code with Bcrypt our login and sign up routes, look like:
Sign up route after hashing password:
 app.post('/register',  (req, res, next)=>{
    try{
        const firstName = req.body.firstName;
        const lastName = req.body.lastName;
        const email = req.body.email;
        let password = req.body.password;


              if (!firstName || !lastName || !email || !password) {
                return res.sendStatus(400);
             }

             const salt = genSaltSync(10);
             password = hashSync(password, salt);


                redisClient.hmset(email,
                    'first_name', firstName,
                    'last_name', lastName,
                    'email', email,
                    'password', password
                  , function(err, reply){
                if(err){
                  console.log(err);
                }
                console.log(reply);
                res.redirect('/register') ;

              });


    } catch(e){
        console.log(e);
        res.sendStatus(400);
    }
});
Login Route After verify a password against a hash:
 app.post('/login' , (req, res, next)=>{
    try{
    const email = req.body.email;
    let password = req.body.password;
    redisClient.hgetall(email, function(err, obj){

    if(!obj){
        return res.send({
            message: "Invalid email or password"
        })
    }
    console.log(obj);
    const isValidPassword = compareSync(password, obj.password);
    if(isValidPassword){
        console.log(req.session);
        obj.password = undefined;
        console.log(obj);
        req.session.email = obj.email;
        console.log(req.session.email);
         return res.redirect('/home');
    }  else{
         res.send(
             "Invalid email or password"
        );
        return res.redirect('/login')
    }
});

    } catch(e){
        console.log(e);
    }


});
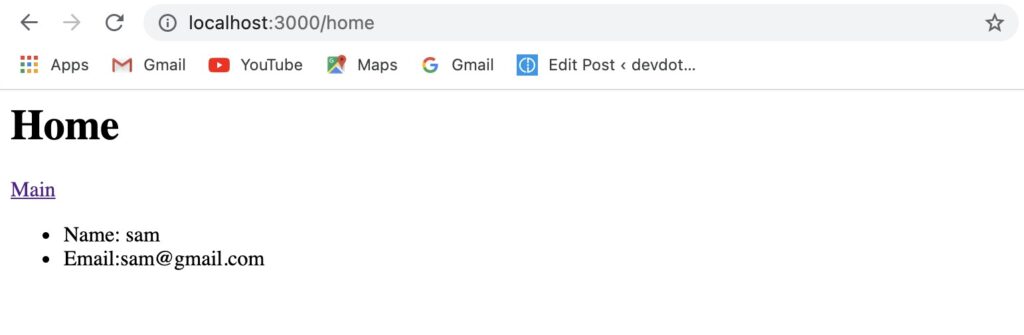
Home page route
The home page in our app is the dashboard page where the user is redirected after a valid authentication. Every time the user visits the home page, the cookie is sent back to the server to check if the Redis store has a session with the same ID. If yes, the home page loads without redirection to the login page.
app.get('/home',  (req,res)=>{
    const {email} =req.session

     if(email){
    try{
        redisClient.hgetall(email, function(err, obj){

        res.send(`
        <h1>Home</h1>
        <a href='/'>Main</a>
        <ul>
        <li> Name: ${obj.first_name} </li>
        <li> Email:${obj.email} </li>
        </ul>

        `)
        })
    } catch(e) {
        console.log(e);
        res.sendStatus(404);
    }
}

})
Logout route
This last route is used to log out the user by destroying the session and redirect the user to the login page.
app.post('/logout',  (req, res)=>{
    req.session.destroy(err => {
        if(err){
            return res.redirect('/home')
        }

        res.clearCookie(process.env.SESS_NAME)
        res.redirect('/login')
    })

})
How to add validate request middleware
As we said, the home page in our app is the dashboard page and the user can access to this page only after a valid authentication or if a previous session steals open.
To control the user access to different pages, we will define two validation functions and add them to our routes:
- The first one redirectHome() will redirect the user to the home page in case a session is open.
- The second redirectLogin() one will redirect the user to the login page if no session is open.
const redirectLogin = (req, res, next) =>{
    if(!req.session.email){
        res.redirect('/login')
    }else{
            next()
        }
 }


 const redirectHome = (req, res, next) =>{
    if(req.session.email){
        res.redirect('/home')
    }else{
            next()
        }
 }
server.js
const express= require('express');
require("dotenv").config();
const session = require('express-session');
const bodyParser = require('body-parser');
const { hashSync, genSaltSync, compareSync } = require("bcrypt");
const redis = require('redis');


const app=express();

const cors=require("cors");

app.use(cors());


const redisStore = require('connect-redis')(session);


const PORT= process.env.APP_PORT;
const IN_PROD = process.env.NODE_ENV === 'production'
const TWO_HOURS = 1000 * 60 * 60 * 2

const REDIS_PORT= process.env.REDIS_PORT;


//create the redis client
const redisClient = redis.createClient({
    host: 'localhost',
    port: REDIS_PORT
 })


const  sessionStore = new redisStore({ client: redisClient });


redisClient.on('error', function (err) {
    console.log('Could not establish a connection with redis. ' + err);
});
redisClient.on('connect', function (err) {
    console.log('Connected to redis successfully');
});


app.use(bodyParser.urlencoded({
    extended: true
}));

app.use(bodyParser.json())


app.use(session({
    name: process.env.SESS_NAME,
    resave: false,
    saveUninitialized: false,
    store: sessionStore,
    secret: process.env.SESS_SECRET,
    cookie: {
        maxAge: TWO_HOURS,
        sameSite: true,
        secure: IN_PROD
    }
}))


const redirectLogin = (req, res, next) =>{
    if(!req.session.email){
        res.redirect('/login')
    }else{
            next()
        }
 }


 const redirectHome = (req, res, next) =>{
    if(req.session.email){
        res.redirect('/home')
    }else{
            next()
        }
 }


app.get('/', (req, res)=>{
    const { email } = req.session
    console.log(email);
    res.send(`
    <h1> Welcome!</h1>
     ${email ? `<a href = '/home'> Home </a>
    <form method='post' action='/logout'>
    <button>Logout</button>
    </form>` : `<a href = '/login'> Login </a>
   <a href = '/register'> Register </a>
`}
    `)
})


app.get('/home',  redirectLogin, async(req,res)=>{
    const {email} =req.session
    console.log(email);
     if(email){
    try{
        redisClient.hgetall(email, function(err, obj){

        console.log(obj)
        //req.user = obj;
        res.send(`
        <h1>Home</h1>
        <a href='/'>Main</a>
        <ul>
        <li> Name: ${obj.first_name} </li>
        <li> Email:${obj.email} </li>
        </ul>

        `)
        })
    } catch(e) {
        console.log(e);
        res.sendStatus(404);
    }
}

})


app.get('/login',redirectHome, (req,res)=>{
    res.send(`
    <h1>Login</h1>
    <form method='post' action='/login'>
    <input type='email' name='email' placeholder='Email' required />
    <input type='password' name='password' placeholder='password' required/>
    <input type='submit' />
    </form>
    <a href='/register'>Register</a>
    `)
})


 app.get('/register',redirectHome, (req,res)=>{
    res.send(`
    <h1>Register</h1>
    <form method='post' action='/Register'>
    <input type='text' name='firstName' placeholder='First Name' required />
    <input type='text' name='lastName' placeholder='Last Name' required />
    <input type='email' name='email' placeholder='Email' required />
    <input type='password' name='password' placeholder='password' required/>
    <input type='submit' />
    </form>
    <a href='/login'>Login</a>
    `)
})


app.post('/login',redirectHome, (req, res, next)=>{
    try{
    const email = req.body.email;
    let password = req.body.password;
    redisClient.hgetall(email, function(err, obj){

    if(!obj){
        return res.send({
            message: "Invalid email or password"
        })
    }
    console.log(obj);
    const isValidPassword = compareSync(password, obj.password);
    if(isValidPassword){
        console.log(req.session);
        obj.password = undefined;
        console.log(obj);
        req.session.email = obj.email;
        console.log(req.session.email);
         return res.redirect('/home');
    }  else{
         res.send(
             "Invalid email or password"
        );
        return res.redirect('/login')
    }
});

    } catch(e){
        console.log(e);
    }


});


app.post('/register', redirectHome, (req, res, next)=>{
    try{
        const firstName = req.body.firstName;
        const lastName = req.body.lastName;
        const email = req.body.email;
        let password = req.body.password;


              if (!firstName || !lastName || !email || !password) {
                return res.sendStatus(400);
             }

             const salt = genSaltSync(10);
             password = hashSync(password, salt);


                redisClient.hmset(email,
                    'first_name', firstName,
                    'last_name', lastName,
                    'email', email,
                    'password', password
                  , function(err, reply){
                if(err){
                  console.log(err);
                }
                console.log(reply);
                res.redirect('/register') ;

              });


    } catch(e){
        console.log(e);
        res.sendStatus(400);
    }
});


app.post('/logout', redirectLogin, (req, res)=>{
    req.session.destroy(err => {
        if(err){
            return res.redirect('/home')
        }

        res.clearCookie(process.env.SESS_NAME)
        res.redirect('/login')
    })

})


app.listen(PORT, ()=>{console.log(`server is listening on ${PORT}`)});
.env
APP_PORT = 3000

REDIS_PORT = 6379
SESS_LIFETIME = TWO_HOURS
NODE_ENV = 'production' /change it to development if you are in development environment
SESS_NAME = 'enter_the_session_name'
SESS_SECRET = 'yoursecret'
Main page with no existent session:
Register page:
Login page:
Home page:
Main page with an existent session:

Conclusion:
We have implemented an authentication system by adding user login and registration functionality to our nodejs startup server. To do that, we used a noSQL database Redis to save the user informations and a RedisStore as an external storage to manage sessions. Hope this was useful for you.
You might also like:
How to Manage Session in Nodejs using Redis Store.
How to interact with MySQL database using async/await promises in node.js ?
How to store Session in MySQL Database using express-mysql-session.
Why is Connection Pooling better than Single Connection?.
How to create MySQL database using node.js.
Complete Guide to Build a RESTful API with Node.js and Express.