
We use sessions in order to allow the server to maintain the state across many page requests, track a user’s progress over multiple HTML pages and keep users logged in during a certain time period, so when they revisit the website, they don’t have to put theirs credentials in again.
In this article, we will present Redis-store, the most popular choice to store and manage session dada, then give you an easy way of how to store session data in Redis store with a practical example.
Why using Redis as session store ?
Sessions work by assigning to each visitor a unique identifier named ID. When you load data into the Session, the session will store these informations into a certain file on the server. The unique identifier is also stored as a cookie on your computer. One problem that you may encounter with storing Sessions into a file system on the server is losing session informations when we stop the server or restart it. A second problem might occur when you are using a shared hosting plan. Here, if the server is not configured correctly, it would be possible for someone to get access to your sessions.
The session management implemented with the express-session package is done by using global variables stored in the Express server itself. The default server-side session storage, MemoryStore, is not designed for a production environment and it will leak memory for most conditions.
To avoid these problems while managing sessions in node.js, we will store our sessions in an external storage instead of storing them in the express server (MemoryStore by default). Redis is an optimal solution and a popular choice among application developers to store and manage session data (such as user profiles, credentials, session state, and user-specific personalization) because of its speed and availability that will helps to improve the performance of the system.
Easy way to store session in Redis Store
Note: In the rest of this article, we assume that you have already setup Redis on your computer.
The first thing to do is to create a unique ID per user and store some informations on that user in the server and whenever that user makes a request we can look up their data given up the ID which they send within their cookie. There is a nice library to help us out with this and it is called express-session.
In order to use this library, we need to install it and import it and then setup the middleware corresponding into your node.js project or your start server.
If you want to know more details about our start server that we are using in this article, go a head and check this article: Complete Guide to Build a RESTful API with Node.js and Express.
npm install --save express-session
const session = require('express-session');
If you want to see any of these settings or what they mean in more detail, check out this article. They explained it well: Setting up the express-session object.
server.js
const express= require('express');
require("dotenv").config();
const session = require('express-session');
const bodyParser = require('body-parser');


const app=express();

const cors=require("cors");

app.use(cors());


const PORT= process.env.APP_PORT;
const IN_PROD = process.env.NODE_ENV === 'production'
const TWO_HOURS = 1000 * 60 * 60 * 2


app.use(bodyParser.urlencoded({
    extended: true
}));

app.use(bodyParser.json())

 // the session middleware

app.use(session({
    name: process.env.SESS_NAME,
    resave: false,
    saveUninitialized: false,
    store: sessionStore,
    secret: process.env.SESS_SECRET,
    cookie: {
        maxAge: TWO_HOURS,
        sameSite: true,
        secure: IN_PROD
    }
}))


 app.listen(PORT, ()=>{console.log(`server is listening on ${PORT}`)});
It is always a good practice to save all the environment variables related to your app in your .env file, so you will load and use them later. To see how to create this file go Here: Complete Guide to Build a RESTful API with Node.js and Express.
.env
APP_PORT = 3000

SESS_LIFETIME = TWO_HOURS
NODE_ENV = 'development'
SESS_NAME = 'enter_the_session_name'
SESS_SECRET = 'yoursecret'
The express-session will store the session ID in a cookie in the user browser and the session data in the MemoryStore by default. In order to store the session ID and data in Redis we need first to install and import two dependencies redis and redis-connect which is a Redis-based session store, then create a new Redis store and setup Redisclient in the express-session middleware.
npm install --save redis connect-redis
 const redis = require('redis');
 const connectRedis = require('connect-redis');
 const RedisStore = connectRedis(session)
 //Configure redis client
 const redisClient = redis.createClient({
    host: 'localhost',
    port: 6379
})
Note:
By default, redis.createClient() will use 127.0.0.1 and 6379 as the hostname and port, respectively. If you have a different host/port, you can specify them in the following line of code :
const client = redis.createClient(port, host);
server.js
const express= require('express');
require("dotenv").config();
const session = require('express-session');
const bodyParser = require('body-parser');

const redis = require('redis');


const app=express();

const cors=require("cors");

app.use(cors());


const redisStore = require('connect-redis')(session);


const PORT= process.env.APP_PORT;
const IN_PROD = process.env.NODE_ENV === 'production'
const TWO_HOURS = 1000 * 60 * 60 * 2

const REDIS_PORT= process.env.REDIS_PORT;


//create the redis client
const redisClient = redis.createClient({
    host: 'localhost',
    port: REDIS_PORT
 })


const  sessionStore = new redisStore({ client: redisClient });


app.use(bodyParser.urlencoded({
    extended: true
}));

app.use(bodyParser.json())


app.use(session({
    name: process.env.SESS_NAME,
    resave: false,
    saveUninitialized: false,
    store: sessionStore,
    secret: process.env.SESS_SECRET,
    cookie: {
        maxAge: TWO_HOURS,
        sameSite: true,
        secure: IN_PROD
    }
}))


 app.listen(PORT, ()=>{console.log(`server is listening on ${PORT}`)});
.env
APP_PORT = 3000

REDIS_PORT = 6379
SESS_LIFETIME = TWO_HOURS
NODE_ENV = 'production' /change it to development if you are in development environment
SESS_NAME = 'enter_the_session_name'
SESS_SECRET = 'yoursecret'
Now we are all good for setting up sessions so we can actually use them in our routes to make requests to the server.
Practical example
In this example we are going to implement an authentication system in order to show you a practical way on how to use and store session in redisStore, but note that the following system is a simplified version, if you want to see how to implement a complete authentication system using redis and sessions, check our article: Node.js + Redis – Complete API for Authentication, Registration and User Management.
In the following example, we will add our routes to our boilerplate server for sessions server.js created in the section above.
Registration routes:
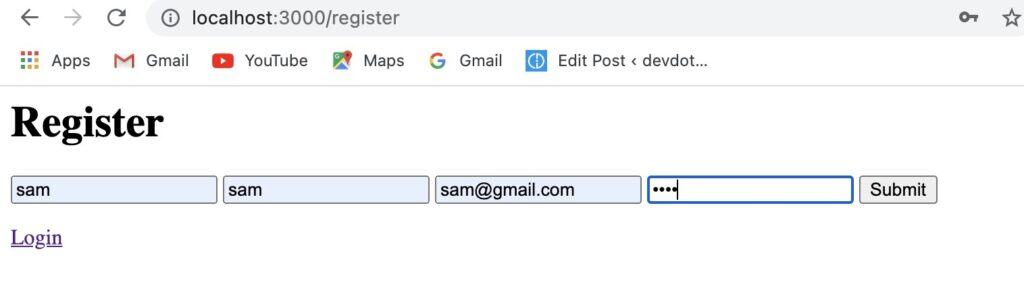
To log to the app, a user needs first to register or sign up by entering his name, email and password in the registration form on the register page. After that we need to store these informations as an object in a redis database using hashs.
app.get('/register', (req,res)=>{
    res.send(`
    <h1>Register</h1>
    <form method='post' action='/Register'>
    <input type='text' name='firstName' placeholder='First Name' required />
    <input type='text' name='lastName' placeholder='Last Name' required />
    <input type='email' name='email' placeholder='Email' required />
    <input type='password' name='password' placeholder='password' required/>
    <input type='submit' />
    </form>
    <a href='/login'>Login</a>
    `)
})


app.post('/register', (req, res, next)=>{
    try{
        const firstName = req.body.firstName;
        const lastName = req.body.lastName;
        const email = req.body.email;
        const password = req.body.password;


              if (!firstName || !lastName || !email || !password) {
                return res.sendStatus(400);
             }


             redisClient.hmset(email,
                'first_name', firstName,
                'last_name', lastName,
                'email', email,
                'password', password,
              function(err, reply){
                if(err){
                  console.log(err);
                }
                console.log(reply);
                res.redirect('/register') ;

              });


    } catch(e){
        console.log(e);
        res.sendStatus(400);
    }
});
Login route:
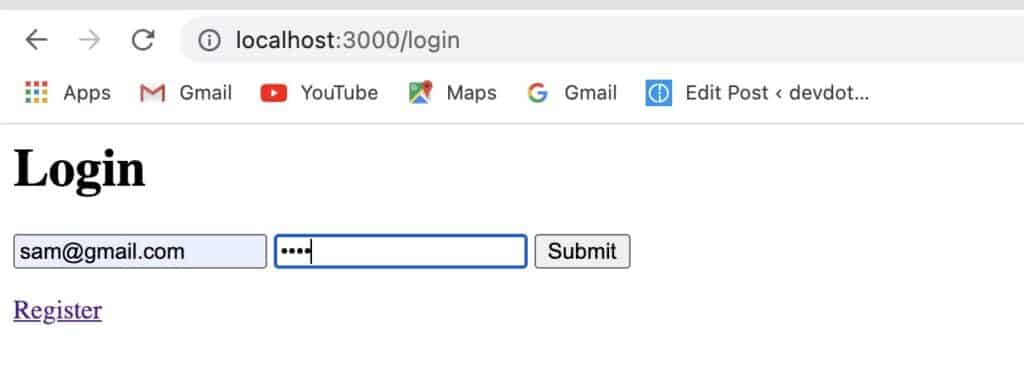
Once the registration done, the user can click on the login and he will be redirected to the login page. To log into the app, a user should enter his email and password. Then, the server will generate a new session ID and stores it in the Redis store. This session will be valid until maxAge time expires, or the user logs out. In both cases, the session will be automatically removed from the session store.
Note: The session ID is sent to the client and it is saved as a cookie. This cookie will be sent with each user’s request to the server .
pp.post('/login', (req, res, next)=>{
    try{
    const email = req.body.email;
    const password = req.body.password;


    redisClient.hgetall(email, function(err, obj){
    if(!obj){
        return res.send({
            message: "Invalid email"
        })
    }
    if(obj.password !== password){
        return res.send({
            message: "Invalid  password"
        })
    }

        req.session.email = obj.email;
         return res.redirect('/home');

});

    } catch(e){
        console.log(e);
    }


});
Home page route:
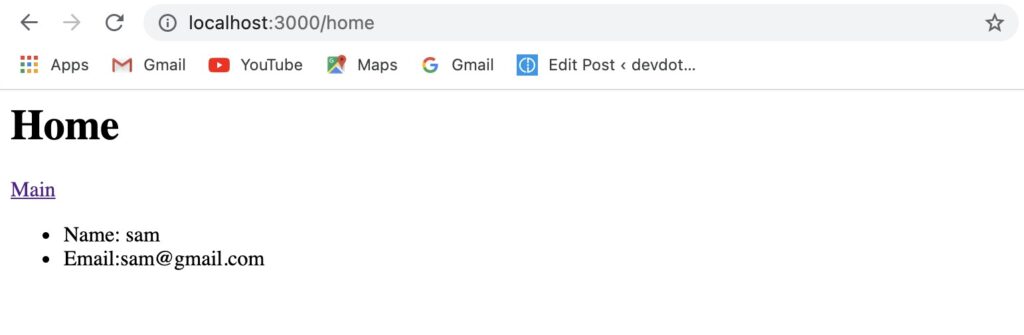
Every time the user visits the home page, the cookie is sent back to the server to check if the Redis store has a session with the same ID. If yes, the home page loads without redirection to the login page.
app.get('/home',  (req,res)=>{
    const {email} =req.session

     if(email){
    try{
        redisClient.hgetall(email, function(err, obj){

        res.send(`
        <h1>Home</h1>
        <a href='/'>Main</a>
        <ul>
        <li> Name: ${obj.first_name} </li>
        <li> Email:${obj.email} </li>
        </ul>

        `)
        })
    } catch(e) {
        console.log(e);
        res.sendStatus(404);
    }
}

})
Logout route:
This last route is used to log out the user by destroying the session and redirect the user to the login page.
app.post('/logout',  (req, res)=>{
    req.session.destroy(err => {
        if(err){
            return res.redirect('/home')
        }

        res.clearCookie(process.env.SESS_NAME)
        res.redirect('/login')
    })

})
After adding all the previous routes to your code, your server.js and .env files will look like:
server.js
const express= require('express');
require("dotenv").config();
const session = require('express-session');
const bodyParser = require('body-parser');
const redis = require('redis');


const app=express();

const cors=require("cors");

app.use(cors());


const redisStore = require('connect-redis')(session);


const PORT= process.env.APP_PORT;
const IN_PROD = process.env.NODE_ENV === 'production'
const TWO_HOURS = 1000 * 60 * 60 * 2

const REDIS_PORT= process.env.REDIS_PORT;


//create the redis client
const redisClient = redis.createClient({
    host: 'localhost',
    port: REDIS_PORT
 })


const  sessionStore = new redisStore({ client: redisClient });


redisClient.on('error', function (err) {
    console.log('Could not establish a connection with redis. ' + err);
});
redisClient.on('connect', function (err) {
    console.log('Connected to redis successfully');
});


app.use(bodyParser.urlencoded({
    extended: true
}));

app.use(bodyParser.json())


app.use(session({
    name: process.env.SESS_NAME,
    resave: false,
    saveUninitialized: false,
    store: sessionStore,
    secret: process.env.SESS_SECRET,
    cookie: {
        maxAge: TWO_HOURS,
        sameSite: true,
        secure: IN_PROD
    }
}))


app.get('/', (req, res)=>{
    const { email } = req.session
    res.send(`
    <h1> Welcome!</h1>
     ${email ? `<a href = '/home'> Home </a>
    <form method='post' action='/logout'>
    <button>Logout</button>
    </form>` : `<a href = '/login'> Login </a>
   <a href = '/register'> Register </a>
`}
    `)
})


app.get('/home',  (req,res)=>{
    const {email} =req.session
     if(email){
    try{
        redisClient.hgetall(email, function(err, obj){

        res.send(`
        <h1>Home</h1>
        <a href='/'>Main</a>
        <ul>
        <li> Name: ${obj.first_name} </li>
        <li> Email:${obj.email} </li>
        </ul>

        `)
        })
    } catch(e) {
        console.log(e);
        res.sendStatus(404);
    }
}

})


app.get('/login', (req,res)=>{
    res.send(`
    <h1>Login</h1>
    <form method='post' action='/login'>
    <input type='email' name='email' placeholder='Email' required />
    <input type='password' name='password' placeholder='password' required/>
    <input type='submit' />
    </form>
    <a href='/register'>Register</a>
    `)
})


 app.get('/register', (req,res)=>{
    res.send(`
    <h1>Register</h1>
    <form method='post' action='/Register'>
    <input type='text' name='firstName' placeholder='First Name' required />
    <input type='text' name='lastName' placeholder='Last Name' required />
    <input type='email' name='email' placeholder='Email' required />
    <input type='password' name='password' placeholder='password' required/>
    <input type='submit' />
    </form>
    <a href='/login'>Login</a>
    `)
})


app.post('/login', (req, res, next)=>{
    try{
    const email = req.body.email;
    const password = req.body.password;


    redisClient.hgetall(email, function(err, obj){
    if(!obj){
        return res.send({
            message: "Invalid email"
        })
    }
    if(obj.password !== password){
        return res.send({
            message: "Invalid  password"
        })
    }

        req.session.email = obj.email;
         return res.redirect('/home');

});

    } catch(e){
        console.log(e);
    }


});


app.post('/register', (req, res, next)=>{
    try{
        const firstName = req.body.firstName;
        const lastName = req.body.lastName;
        const email = req.body.email;
        const password = req.body.password;


              if (!firstName || !lastName || !email || !password) {
                return res.sendStatus(400);
             }


             redisClient.hmset(email,
                'first_name', firstName,
                'last_name', lastName,
                'email', email,
                'password', password,
              function(err, reply){
                if(err){
                  console.log(err);
                }
                console.log(reply);
                res.redirect('/register') ;

              });


    } catch(e){
        console.log(e);
        res.sendStatus(400);
    }
});


app.post('/logout',  (req, res)=>{
    req.session.destroy(err => {
        if(err){
            return res.redirect('/home')
        }

        res.clearCookie(process.env.SESS_NAME)
        res.redirect('/login')
    })

})


app.listen(PORT, ()=>{console.log(`server is listening on ${PORT}`)});
.env
APP_PORT = 3000

REDIS_PORT = 6379
SESS_LIFETIME = TWO_HOURS
NODE_ENV = 'production' /change it to development if you are in development environment
SESS_NAME = 'enter_the_session_name'
SESS_SECRET = 'yoursecret'
Your project will look something like this in the code editor:

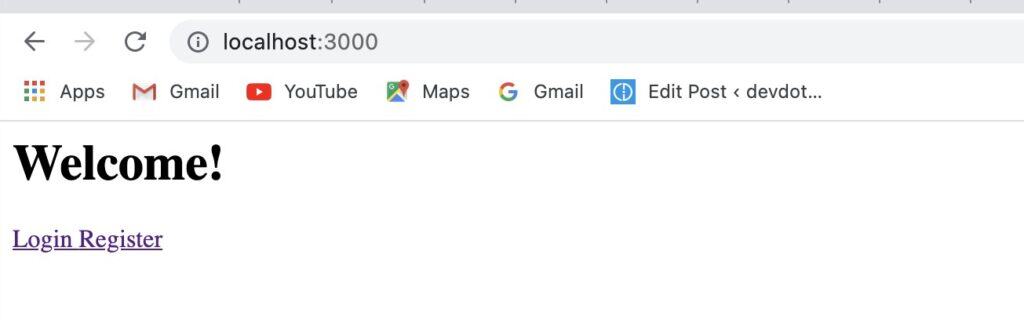
Now let’s test our code: all you have to do is start your server, then open your browser: http://localhost:3000/
Click on register Then enter your informations for registration:
To start a session, you can click on Login and enter your email and password. You will be redirected to the home page and a session ID will be stored in the redis database.
To check that the cookie key is written in Redis, you can run the command KEYS * in the Redis CLI. This command will show a list of all existing keys in the database:
To destroy the session, all you need to do is click on Main and then Logout. The session is immediately deleted and to verify that, run the command KEYS * and will see that the session is removed from the database.


Conclusion
Using redis as an external sessions storage is the optimal choice because of its speed and its several features. In this article, we have learned how to store these sessions and how to use them in a practical example so you can see and understand the concept in actions.
I hope you liked the article and if you want to see how to implement a complete authentication system using redis and sessions, check our article : Node.js + Redis – Complete API for Authentication, Registration and User Management.
You might also like:
Node.js + Redis – Complete API for Authentication, Registration and User Management
How to store Session in MySQL Database using express-mysql-session.
How to interact with MySQL database using async/await promises in node.js ?
Why is Connection Pooling better than Single Connection?.
How to create MySQL database using node.js.
Complete Guide to Build a RESTful API with Node.js and Express.